Using an ESP with PlanetPress Connect
An email service provider (ESP) is a company that offers email marketing or bulk email services.
This topic explains why and how to use an ESP with PlanetPress Connect
Reasons to use an ESP
These are a number of reasons why you would need an ESP:
- ESPs ensure a high deliverability, as most ESPs are whitelisted or approved by ISPs (Internet Service Providers) as legitimate email delivery service. So they help you to avoid having mail detected as spam.
- ESPs provide comprehensive tracking options to measure open rates and they log which links were clicked and by who. Typically this information is available via an online dashboard.
- Most ESPs provide Bounce Management options. They will stop sending messages to addresses that return a hard bounce and retry for soft bounces before removing that address.
- EPSs can handle unsubscribes and prevent accidental sends in the future.
Choosing an ESP
The first thing to do to use an ESP with PlanetPress Connect is to choose an ESP and create an account.
Mandrillapp.com, a popular ESP, used to have a free account but now requires a paid MailChimp account. Luckily there are plenty of alternatives that provide free accounts (often capped to a max number of emails per month and sometimes having throttled output).
PlanetPress Connect has been tested with: Mandrillap.com, SendGrid (easy user management), MailGun (nearly instant statistics) and MailJet (shows best performance on the free account).
Adding an SMTP Preset for an ESP
After creating an account, add a SMTP settings preset in PlanetPress Connect for the chosen ESP, via the Preferences dialog of the Designer (see Email SMTP settings).
Make sure Use authentication is checked, and put in your SMTP Username in the box below.
Presets for different ESPs are already available in the list of default presets.
Sending an email with an ESP
To send an email or test email with the use of an ESP, start generating the email as usual (see Generating Email output). In the Send (Test) Email dialog, pay attention to the following settings:
- In the Outgoing mail settings area, select the preset for your ESP in the Presets drop-down.
- In the Password box, type the password provided by the ESP.
The ESP might also have a test function you can use. Check the options of your ESP.
For a detailed description of how to use Mandrill to send and track emails, see the following how-to: Using Mandrill.
Adding custom ESP handling instructions
Most ESPs allow you to provide custom handling instructions as part of the email message, via custom headers. Typically these include instructions to enable open rate tracking, click through rate tracking and assign tags/categories to messages. Assigning a tag/category allows you to view statistics per email type in the dashboard of the ESP. Note that each ESP has its own notation and instructions.
In a Connect template, adding these custom headers is handled through a Control Script (see Control Scripts and Control Script API). The following samples show how to assign a tag or category to a message (e.g. ‘invoice’, ‘confirmation’, ’newsletter-jan-2017’) for various ESPs.
SendGrid
Dashboard: https://app.sendgrid.com/
Documentation: https://sendgrid.com/docs/API_Reference/SMTP_API/using_the_smtp_api.html
Sample Control Script to assign a category:
var headerObj = {
"category": ["invoices"]
};
merge.context.sections["Content"].headers = {
"X-SMTPAPI": JSON.stringify(headerObj)
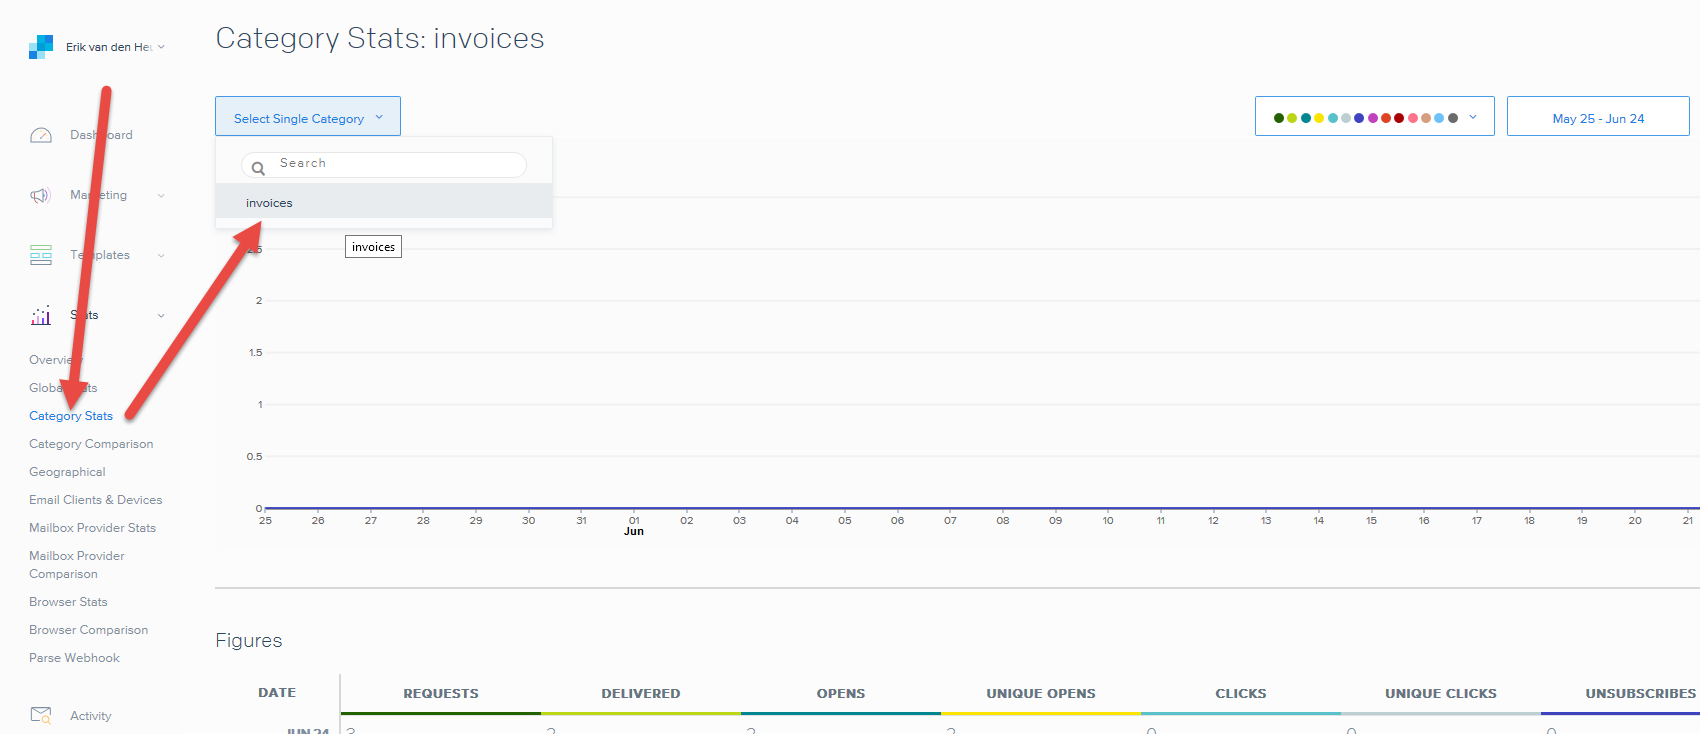
};Sendgrid strips out their mail headers. The results need to be verified via their Dashboards (e.g. the Stats section lets you verify the stats for specific categories). Alternatively one can use their Web API to retrieve stats in JSON format. To view the category stats, log in to Sendgrid and choose: Stats > Category Stats > your category name.
MailGun
Dashboard: https://mailgun.com/cp/stats
Documentation: https://documentation.mailgun.com/api-sending.html#sending
Sample Control Script to assign a tag:
merge.context.sections["Content"].headers = {
"X-Mailgun-Tag": "invoices"
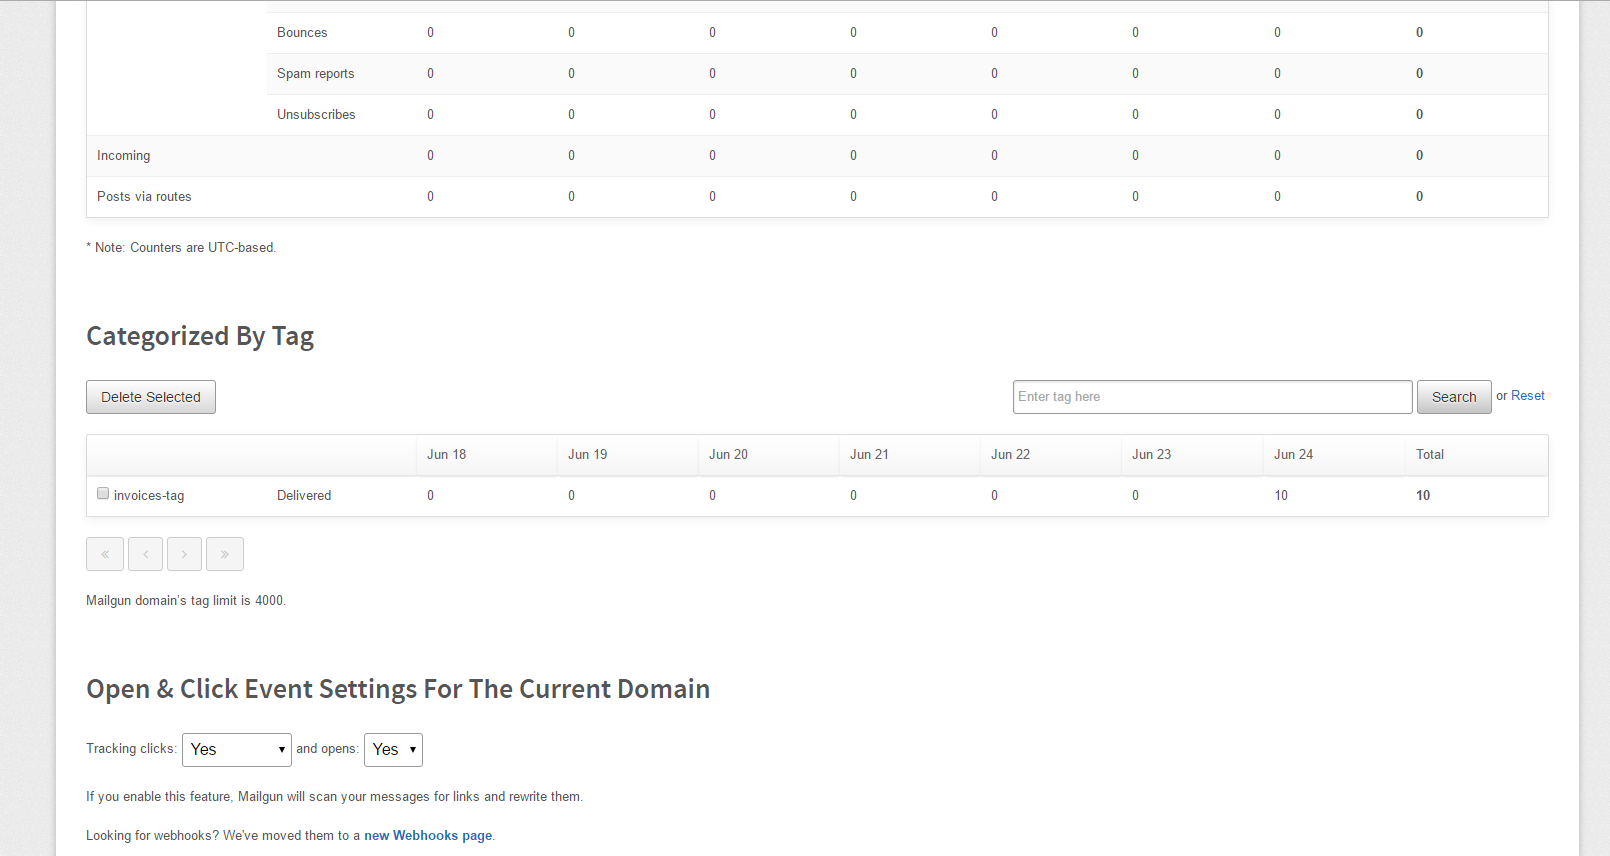
};The Mailgun tag allows you to view the stats per tag. Mailgun has a quick refresh and stats are available almost instantly.

MailJet
Dashboard: https://app.mailjet.com/dashboard
Documentation: https://app.mailjet.com/docs/emails_headers
Sample Control Script to assign a campaign:
merge.context.sections["Content"].headers = {
"X-Mailjet-Campaign": "invoices"
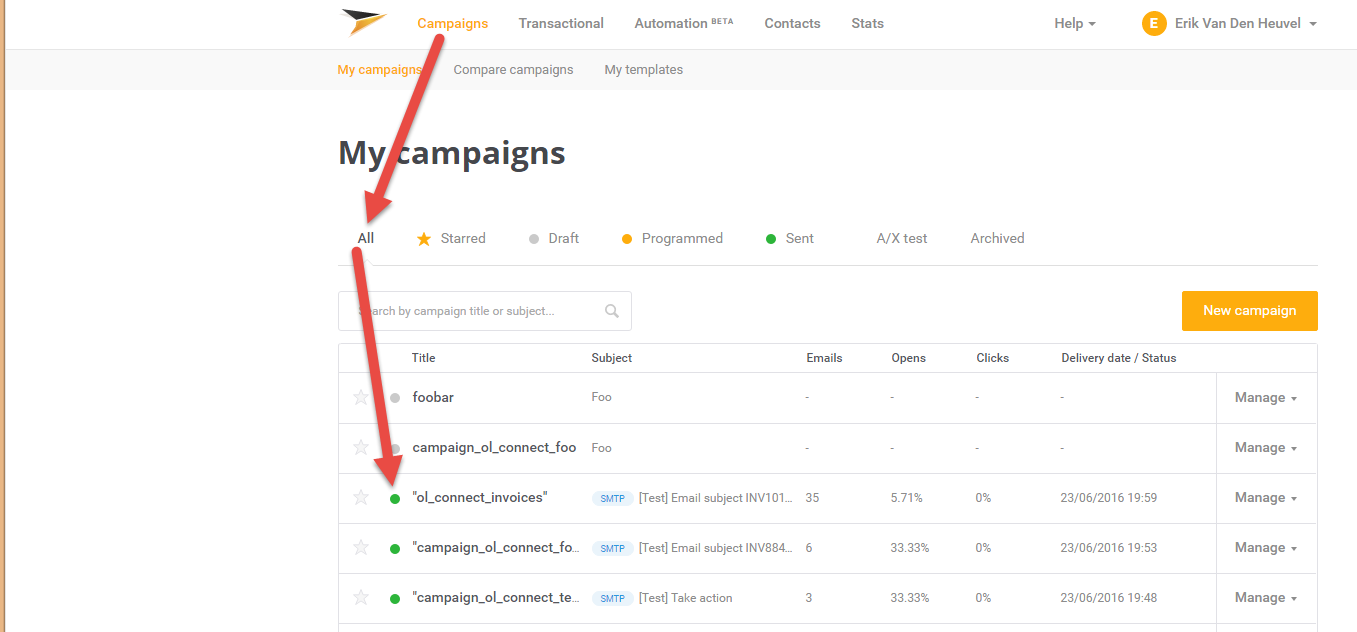
};Mailjet strips out their own mailheaders like X-Mailjet-Campaign. The results can only be verified via the respective campaign stats page in the Mailjet dashboard. There is no need to pre-create the campaign: adding it to the email header via a Control Script auto-generates the campaign. To view the campaign, login to Mailjet and choose: Campaigns > All.